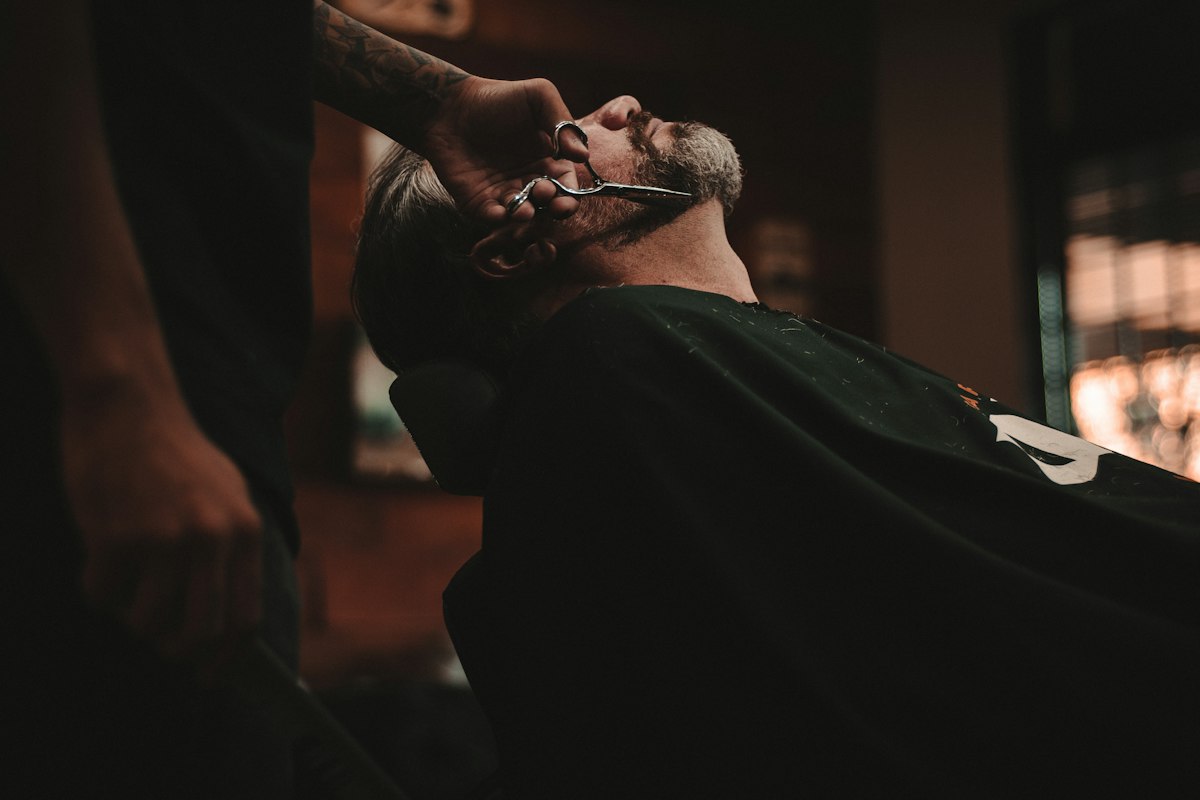
How to Do a Crop Fade: The Technique Behind the Most Booked Haircut
How to Do a Crop Fade: The Technique Behind the Most Booked Haircut
The crop fade is consistently one of the most requested haircuts in North American barbershops because it works on a wide range of face shapes, hair types, and style preferences. The combination of a textured, cropped top with faded sides is versatile enough to read as casual or sharp depending on how it is styled. For barbers, executing it correctly requires clean technique on both the fade and the top texturization.
What Makes a Crop Fade
Two elements define the cut:
- The crop: the top is cut short (typically 1 to 2 inches depending on the client's preference) and textured so the hair has definition and movement rather than lying flat.
- The fade: the sides and back are faded from a defined skin or short-guard zone at the bottom up to the length on top. The fade line can be high, mid, or low depending on the client's preference and the desired overall proportion.
The Process
Step 1: Cut the top
The crop top is cut first using scissors or clippers over comb. Start with the desired length on top and cut to a consistent length across the crown and frontal area. Most crop fades keep the top between 1 and 2 inches. Longer than 2 inches starts to shift out of the crop silhouette.
The key variable at this stage is the texture cut. The crop top is not cut blunt. Point cutting with scissors or a texturizing technique creates the separated, piece-y look that defines the style. Run scissors at an angle into the ends of the top hair, or use a razor comb for more aggressive texture. The degree of texture is a style preference the barber confirms during the consultation.
Step 2: Establish the fringe
The fringe (the front section of the top) is cut to the desired length and styled forward. A classic crop fade fringe is cut so it lays forward with a slight point or texture at the forehead. The fringe length determines how much of the forehead is covered. Discuss with the client whether they prefer a heavier or lighter fringe.
Step 3: Cut the fade
After the top is set, execute the fade on the sides and back. The fade can start at any height depending on style, but high and mid fades are most common with a crop top because they create strong visual contrast between the textured crown and the faded sides.
The blend line between the top length and the start of the fade is the most critical technical element. The transition from the top length into the fade should be seamless: no line, no ledge, no unblended zone. Work the blend from both directions (blending down from the top, blending up from the fade) until the transition disappears.
Step 4: Define the line-up
The front hairline and temple points are defined after the fade. A sharp line-up complements the geometric precision of the crop fade. A softer or more natural hairline reads as more casual.
Step 5: Product and styling
The crop fade is typically finished with a small amount of product in the top to define the texture and set the fringe. Matte finish products work for a natural look. Pomade or clay with medium shine produces a more polished finish. Show the client how to recreate the style at home during the finishing step; this increases their satisfaction and their likelihood of returning.
Training for the Crop Fade
CADMEN offers a two-day fade course in Mississauga with demonstrations, supervised practice on live models and educator feedback. Small-group classes have up to three students, and one-on-one training is also available. Confirm the skill you want to practise with our team before booking. View current details.
CADMEN Barber Academy is a private training institution in Mississauga, Ontario. It does not provide Skilled Trades Ontario apprenticeship hours or Certificate of Qualification pathways.
Frequently Asked Questions
What is a crop fade?
A crop fade combines a short, textured top (the crop) with faded sides that graduate from a defined skin or short zone at the bottom up to the top length. The result is a clean, modern haircut with a strong visual contrast between the longer textured crown and the shorter sides. It is one of the most-booked haircuts in contemporary barbershops because it works on most hair types and face shapes.
How short is a crop fade on top?
Typically 1 to 2 inches of length on the top, cut with texture rather than blunt. Less than 1 inch is getting into very close-cropped territory that reads more like a buzz cut. More than 2 inches shifts toward longer styles that use fade sides differently. The specific length is a client preference that should be confirmed in the consultation with a reference photo or by asking the client to show where they want the length.
What fade height works best with a crop?
High and mid fades are most common with a crop top because they create strong contrast and a modern silhouette. A low fade with a crop is a softer look that reads more conservative. The right height depends on the client's head shape, lifestyle, and style preference. High fades require more frequent maintenance because they grow out more visibly. This should be mentioned during the consultation so the client can plan their rebooking frequency accordingly.
How do you blend the crop with the fade?
The blend zone is where the top length transitions into the start of the fade. Work from both ends: blend down from the top with the clipper lever open, and blend up from the fade zone. Check the transition from multiple angles (step back and look from the front, both sides, and behind). Any unblended line or ledge is visible as a hard border and is the most common technical failure on this haircut.
What products work best for a crop fade?
Matte finish products (clay, paste, or matte wax) for a natural textured look; light hold pomade or texture cream for something slightly more refined. Heavy-hold, high-shine products work against the natural texture of a crop fade and can make the fringe look greasy. Apply a small amount to slightly damp or dry hair and work it through the top before pushing the fringe forward.
Want to learn to cut a textured crop yourself? CADMEN Barber Academy teaches cutting hands-on, with an educator beside you. See the barber academy in Mississauga or view in-person classes and send an enquiry.
Learn this fade step by step in our free Fade Tutorials playlist on YouTube.
