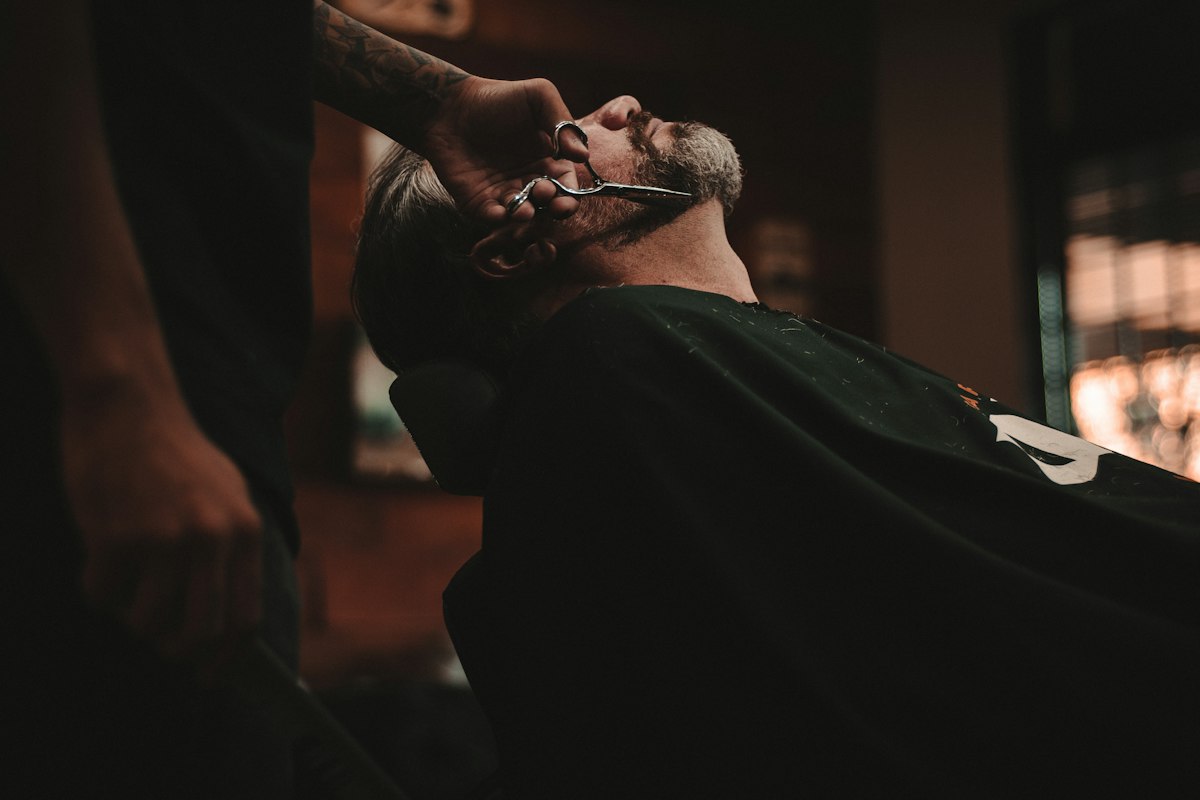
How to Do a Beard Lineup: Step-by-Step Technique for Barbers
How to Do a Beard Lineup: Step-by-Step Technique for Barbers
A beard lineup is one of the highest-visibility services in a barbershop. Every border you cut is immediately obvious. There is no blending zone to soften a mistake the way fade work has. What you cut stays cut until the beard grows back.
This covers the execution sequence, the tools, and the errors that produce soft or uneven lines.
What a Beard Lineup Is
A beard lineup defines the perimeter edges of the beard at three zones:
- The cheek line: the upper border where the beard meets the cheek skin
- The neckline: the lower border where the beard meets the neck
- The mustache border: the edge above the upper lip, separating the mustache from the lip itself
The service is not about shaping the beard itself. It is about creating clean separation between beard and skin at the borders. A well-executed lineup sharpens the entire facial appearance by giving the beard a defined visual structure.
Tools for a Beard Lineup
You need four things at minimum:
- T-outliner or zero-gap detailer: for pulling clean lines at the borders. The clipper must be zero-gapped or set flush to the skin. A clipper with a gap between the blades produces a shadow line, not a sharp edge.
- Straight razor or safety razor: for removing stray hairs outside the defined borders. This step is what separates a sharp professional finish from a clipper-only result.
- Shave gel or pre-shave oil: applied to the skin outside the beard before the razor step. Allows the razor to glide without dragging and protects the skin.
- Small cleaning brush: for removing clipper debris before applying shave product.
Optional but useful: a white grease pencil or beard liner for marking the intended cheek line before cutting, especially on clients whose natural cheek line has asymmetry.
Step-by-Step Execution
Step 1: Consultation
Ask the client what they want from their cheek line. Some prefer a natural, soft cheek line that follows the natural beard growth. Others want a harder, higher cheek line for a groomed look. These are two different aesthetics requiring different cuts. Also assess symmetry. Hold a hand mirror behind the client if needed to check whether both cheek lines are growing at the same level. If they are asymmetrical, the cleanup approach changes.
Step 2: Dry pass with the outliner
Start on dry skin before any product. Establish the rough outline of each border with the outliner. Work against the grain for the neckline and cheek line. For most clients, the cheek line can be defined by following the natural upper edge of beard growth. Remove obvious stray hairs growing significantly above the intended line.
Step 3: Define the cheek line
Pull the cheek line with a single clean pass of the outliner held flush to the skin. Keep the blade flat against the face, wrist locked, elbow driving the movement rather than the wrist. A wrist-driven pull produces curve. An elbow-driven pull produces a straight line. Assess symmetry after the first side is done. Hold the client's chin steady if they are moving.
Step 4: Define the neckline
The neckline should sit at or just above the Adam's apple on most clients. A neckline that is too high makes the beard look short. A neckline that is too low makes the beard look unshaved. The standard placement is one to two finger-widths above the Adam's apple. Define with a straight line or slight U-curve depending on neck shape and client preference. Clean both sides to match.
Step 5: Define the mustache border
The mustache border is the most visible error zone. Use the outliner to separate the mustache from the lip. The goal is a clean line along the lip's upper border without cutting into the mustache hair itself. Tilt the outliner slightly toward the lip rather than straight down to maintain a clean edge without over-removing mustache density.
Step 6: Brush and apply shave product
Brush all loose hair off the face. Apply shave gel or oil to the skin areas outside each border that will receive the razor. Keep the product off the beard itself to maintain a clear reference line.
Step 7: Razor cleanup
Using a straight razor or safety razor, remove the hairs outside each defined border. Work with short, controlled strokes. The razor removes the fine stubble below the clipper's cutting range and produces the sharp, clean edge that makes a lineup look professionally finished. This step is where the service's quality is determined. The clipper defines the line. The razor makes it sharp.
Step 8: Final check
Hold the mirror for the client and check both sides for symmetry. Look at the cheek lines, neckline, and mustache border from straight on and from a slight angle where asymmetry is most visible.
The Most Common Mistakes
Outliner not zero-gapped. Leaves a stubble shadow at the line. The fix is blade adjustment, not technique. Check the gap before every lineup service.
Cutting the cheek line too high. This is irreversible until the beard grows back. When in doubt, start lower. You can always take more. You cannot put it back.
Asymmetrical cheek lines. Usually from not assessing the client's natural growth symmetry before cutting. The fix is consultation before the outliner touches the face, not correction after.
Skipping the razor step. The clipper pass looks clean in bright light. In natural light or from an angle, the stubble between the line and clean skin is visible. The razor step is not optional for a professional-quality result.
Building Beard Technique at CADMEN
CADMEN's 2-day beard class covers lineup execution, hot towel shaves, beard shaping, and straight razor work on live clients throughout. 3 students maximum. Francis Paua corrects every technique in real time. Hair models and shave clients arranged by CADMEN.
Investment: $1,750 + HST (small group) or $1,950 + HST (1-on-1). $300 deposit. Book at academy.cadmen.ca/in-person-training.
CADMEN Barber Academy is a private training institution in Mississauga, Ontario. It does not provide Skilled Trades Ontario apprenticeship hours or Certificate of Qualification pathways.
Frequently Asked Questions
What is a beard lineup and how is it done?
A beard lineup is the service of defining the border edges of a beard at the cheek line, neckline, and mustache border. The barber uses a T-outliner to establish clean lines at each border, then uses a straight razor to remove stray hairs outside the defined lines for a sharp finish. The service takes 10 to 20 minutes and is typically performed alongside or after a haircut.
What tools do you need for a beard lineup?
Core tools: a T-outliner or zero-gap detailing clipper, a straight razor or safety razor, shave gel or pre-shave oil, and a small cleaning brush. The clipper must be zero-gapped to produce a sharp line rather than a shadow line. The straight razor cleanup after the clipper work is what produces the sharp professional finish that separates a good lineup from an average one.
How do you get clean lines on a beard lineup?
Clean lines come from three things: a zero-gapped outliner, correct hand angle and elbow-driven pull when defining the line, and a straight razor cleanup pass after the clipper work. The most common cause of soft lines is a clipper that is not zero-gapped. The second most common cause is skipping the razor step. Pre-service consultation to assess natural cheek line symmetry also prevents the most common irreversible errors.
