Beard Fade Technique: How to Blend Beard Into the Skin
Beard Fade Technique: How to Blend Beard Into the Skin
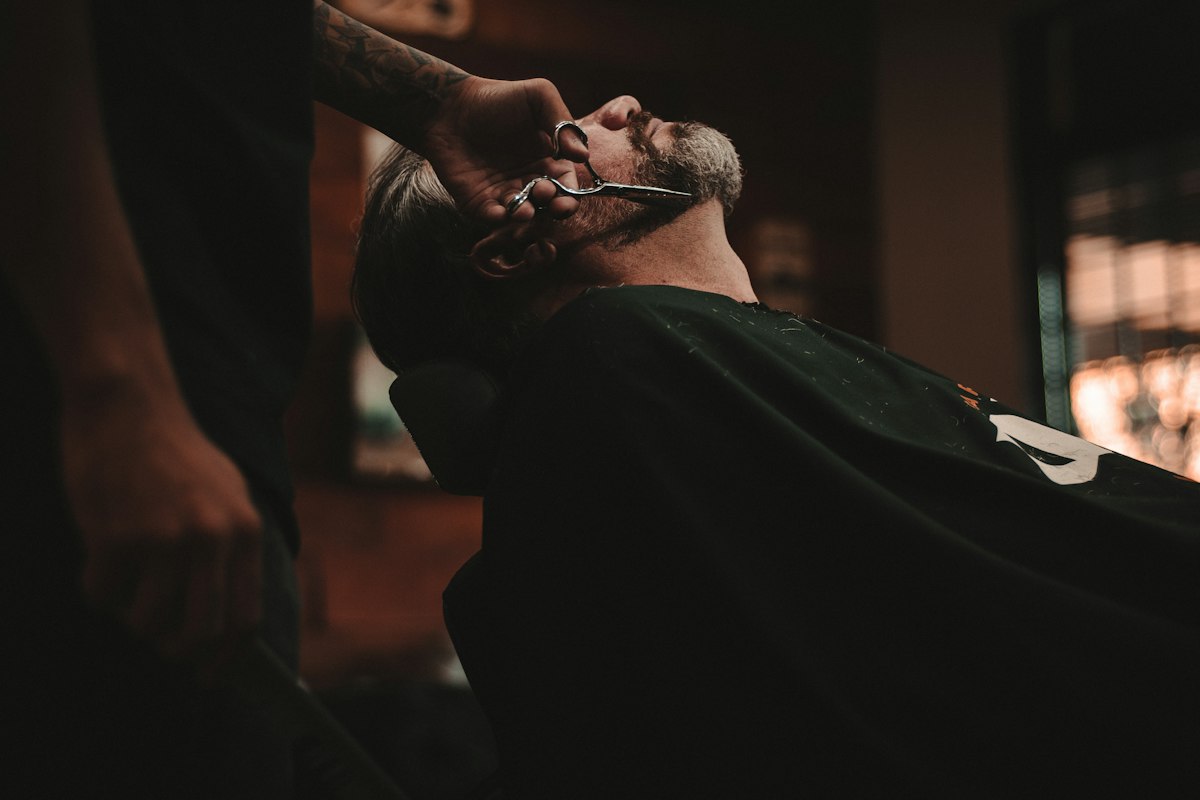
A beard fade eliminates the visible edge where the beard ends and the skin begins. Instead of a clean-cut perimeter, the beard hair graduates from full density to shorter and softer as it approaches the cheek, jawline, and neckline, blending into the skin with no visible transition line. The result looks more intentional and polished than a hard-edge beard trim and requires more skill to execute cleanly.
Why Beard Fades Are Requested
A hard-edge beard trim is the standard service: define the cheek line, clean the neckline, shape the perimeter. A beard fade is the premium version. Clients who have seen the look — often from Instagram or a barber's portfolio — prefer it because it looks less harsh and more integrated with the haircut. When the beard fade connects visually with a skin fade on the sides of the head, the entire look reads as a unified, intentional composition rather than separate elements.
Tools
- T-liner (for the foundation cheek and neckline shape)
- Clippers with a full guard set (0 through 3)
- Balding clipper or adjustable blade clipper (for zero work at the fade perimeter)
- Straight razor (optional, for the skin area outside the faded perimeter)
Step 1: Define the Shape First
Before any fading, establish the overall shape of the beard. Neckline placement, cheek line position, and the general silhouette of the beard from front-on are set in this step with the T-liner at zero.
Neckline: the natural neckline for most beards sits about 1 to 1.5 inches above the Adam's apple, following the curve of the jaw. A neckline placed too low looks unkempt; too high looks unnatural. Confirm with the client whether they want a defined hard neckline or a faded neckline (where the beard graduates into the neck rather than ending at a line).
Cheek line: the natural cheek line follows the curve of the cheekbone. Confirm whether the client wants a natural cheek line or a defined, lower cheek line.
Step 2: Work the Fade Zones
The fade zones in a beard fade are the areas where the beard transitions from full density to skin. Primary zones: the cheeks above the defined cheek line, the neckline below the defined neckline, and (in some styles) along the lower jaw and under the chin where the beard meets the neck.
Cheek fade
Above the hard cheek line, the beard typically appears as scattered growth that was left alone or trimmed broadly. A cheek fade takes this zone and graduates it: guard 2 or 3 at the upper extent of the cheek hair, stepping down to guard 1, then 0.5, then zero at the boundary edge. The blend here is the same principle as a haircut fade — each guard covers a progressively lower zone, with blend passes at the transitions.
Neckline fade
Below the established neckline, graduate the beard hair downward using the same guard progression. The neck area beneath the beard line fades from the full beard density at the perimeter down to zero on the neck skin. Use a balding clipper to close the zone to skin at the lower extent of the fade.
Step 3: Blend
After the initial guard passes, blend using the same technique as a haircut fade: half-guard blending passes at the transitions, clipper-over-comb for the upper blend zones where the beard density is highest. The goal is a smooth graduation with no visible horizontal banding between guard levels.
Beard hair is typically coarser and denser than head hair at the same length, which means transition zones can look more abrupt at the same guard levels. Use finer increments (0.5 between each full guard) and more blending passes than a comparable head fade would require.
Step 4: Razor Cleanup
After the fade is blended, a razor pass on the skin outside the fade perimeter produces the cleanest possible finish — bare skin that contrasts sharply with the faded beard. This is optional but expected at premium barbershops and appreciated by clients who want the cleanest look.
CADMEN Training
Beard services, beard fade technique, and the full barbershop service menu are covered in the CADMEN hands-on program. academy.cadmen.ca/in-person-training.
Frequently Asked Questions
What is a beard fade?
A beard fade is a technique that blends the edges of the beard into the skin using graduated clipper work, eliminating the hard-cut perimeter that a standard beard trim produces. Instead of a visible line where the beard ends, the beard hair graduates from full density to shorter and shorter before blending into bare skin. The result is a softer, more polished edge to the beard that integrates visually with the haircut. It requires more time and skill than a standard beard trim and is typically priced $10 to $20 higher than the standard service.
How do you fade a beard into the neck?
Establish the neckline position first with a T-liner at zero. Below the established neckline, work downward through incremental guard levels (from full beard density at the line to progressively shorter guards toward the neck skin). Use the same guard-progression and blending technique as a haircut fade: each guard level covers a progressively lower zone, blend passes at the transitions, half-guard levels to eliminate visible banding. Finish with a balding clipper or zero-snap blade for the skin zone below the fade, and a razor on the skin surface for the cleanest possible finish.
How long does a beard fade take?
A full beard fade — shape, fade zones, blending, and cleanup — takes 20 to 35 minutes for an experienced barber. Faster is possible on shorter, less dense beards. Longer, fuller beards with more complex fade zone work take the upper end of the range. A beard fade combined with a haircut is typically a 45 to 60-minute full-service appointment. The additional time relative to a standard beard trim is what justifies the price premium.
Can you do a beard fade at home?
A basic version is possible with a home clipper and guard set, but achieving the clean, seamless blend that defines a professional beard fade at home is extremely difficult. The challenge: seeing the back of your own jaw and neck clearly enough to control blade angle and position is hard even with mirrors. The blending technique requires practice and visual feedback from multiple angles simultaneously. Most clients who attempt a beard fade at home produce an uneven result and end up at the barbershop to fix it. A beard fade is one of the services where professional execution produces a meaningfully better result than the DIY version for most people.
How often should you get a beard fade?
Every 2 to 4 weeks, depending on the beard growth rate and how tight the client wants the fade maintained. Faster-growing beards with dense hair at the fade perimeter show new growth within 10 to 14 days and look visibly less clean by week 3. Slower-growing or sparser beards can stretch to 4 weeks before the fade perimeter deteriorates noticeably. Beard fade clients often book at the same interval as their haircut — every 2 to 3 weeks — which maximizes the visual quality of the combined look and simplifies scheduling.
Want to learn to cut a beard fade yourself? CADMEN Barber Academy teaches cutting hands-on, with an educator beside you. See the barber academy in Mississauga or view in-person classes and send an enquiry.
Learn this fade step by step in our free Fade Tutorials playlist on YouTube.
